


One of the best scenes in Lost meets one of the best Mego World's Greatest Super Hero accessories! I've been wanting to do this one ever since Tricia Tanaka died.
Here's Dharma Dave (with the awesome Dharma winch) and his new co-worker Dharma Pete. They are both sporting brand new jumpsuits made by my friend Theressa. More on that later!


Here's some info on how I did it.
First, I purchased a Mego Mobile Batlab on eBay. I'm loathe to alter original Mego toys that are in good condition, and of course I don't want to pay top collector dollar for something I'm going to customize. In this case I did kind of shoot myself in the foot. I impulsively hit the Buy It Now on a junker Batlab for $40 shipping included. However, it did not have a roof, so I was going to have to improvise something and it probably would have sucked. But then I got incredibly lucky and someone was selling a roof on eBay. This is very rare to begin with, and I got it for $30 shipped. So I ended up paying $70 for a Batlab that still needed replacement headlights ($25 from the laser cutting service) and a back door (handmade, looks pretty good) as well as the Dharma Logo ($25 lasercut) and about $15 worth of paint as well as the totally superfluous yet awesome sound card ($10). So I'm into this thing for about $150. I probably could have been patient and scored a better condition Batlab for less than I ended up paying. But I had a great time solving problems, so I guess that's it's own satisfaction.
Okay, here's some notes on customizing the van:
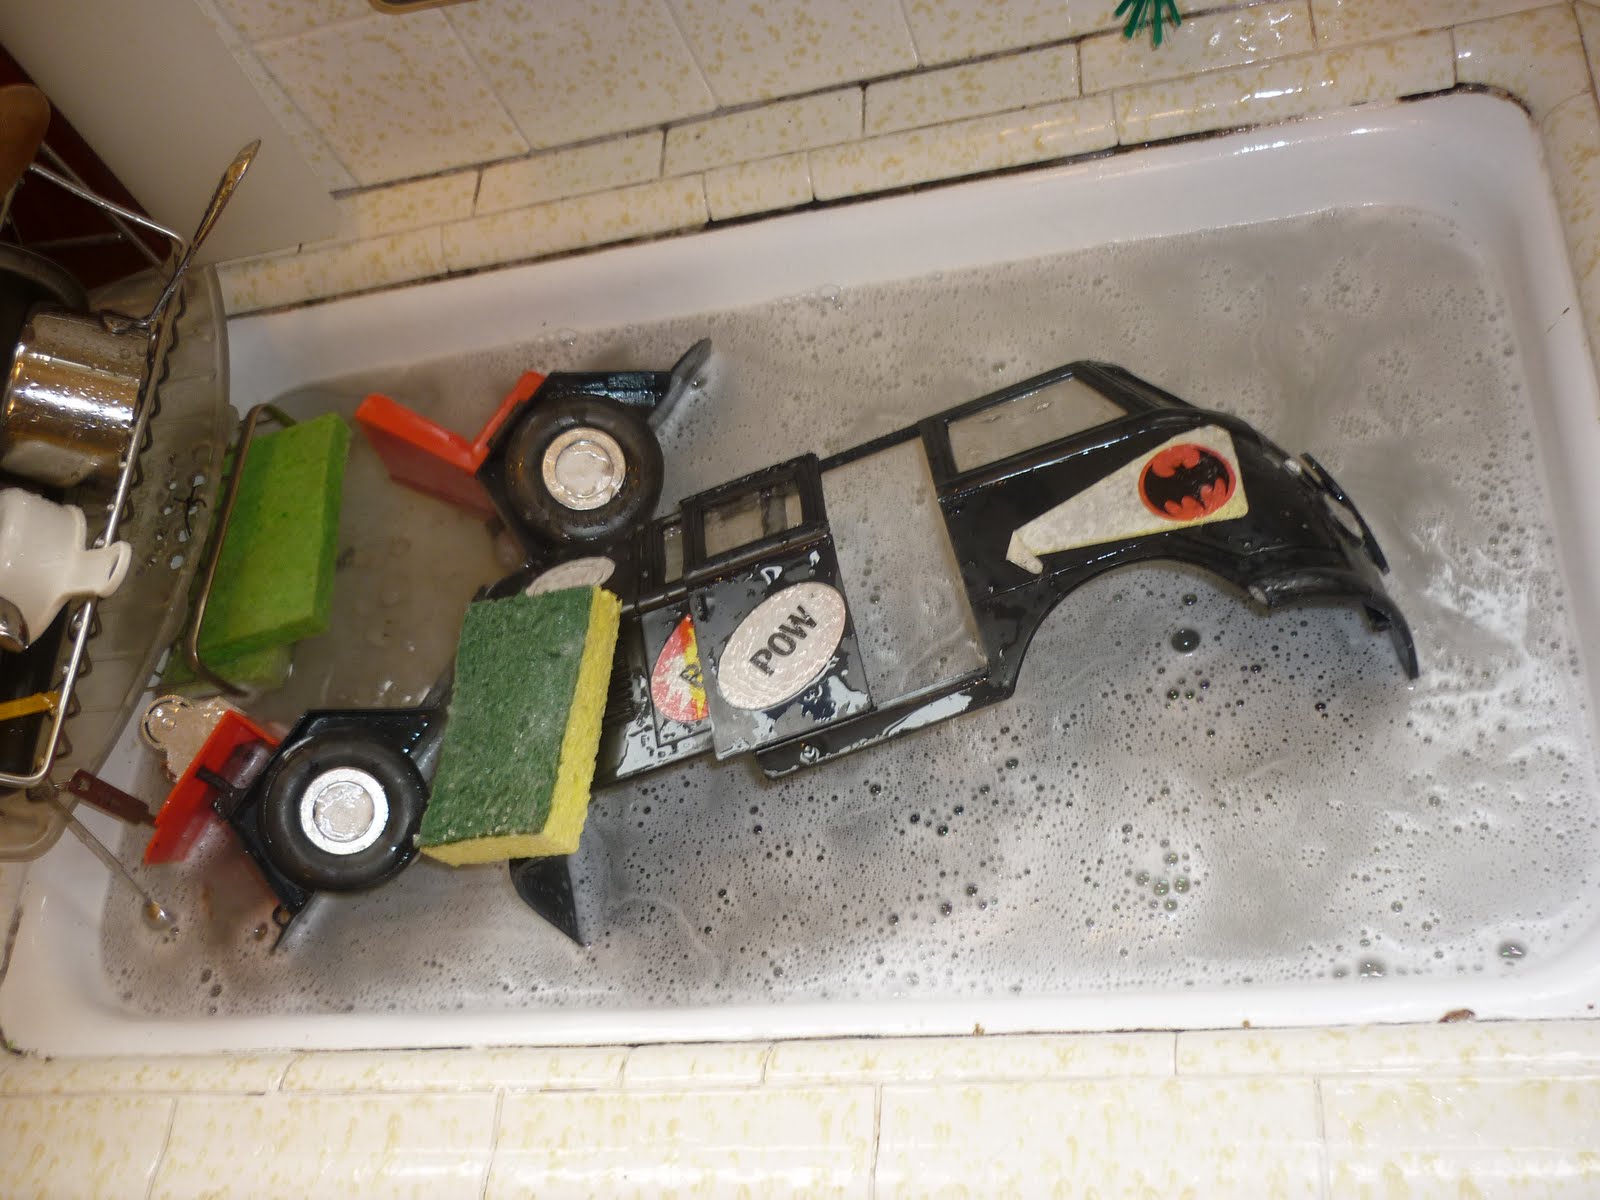
Start with a nice soapy bath. The stickers came up pretty easily, I didn't need to use any Goo-Gone on them. The only caveat is the chrome paint on the wheels scratched up very easily with a minimum of scrubbing. The biggest thing to keep in mind is how fragile this plastic is. Simply cleaning it I broke the back door cross bar and the side door cross bar, survivable breaks but unfortunate.
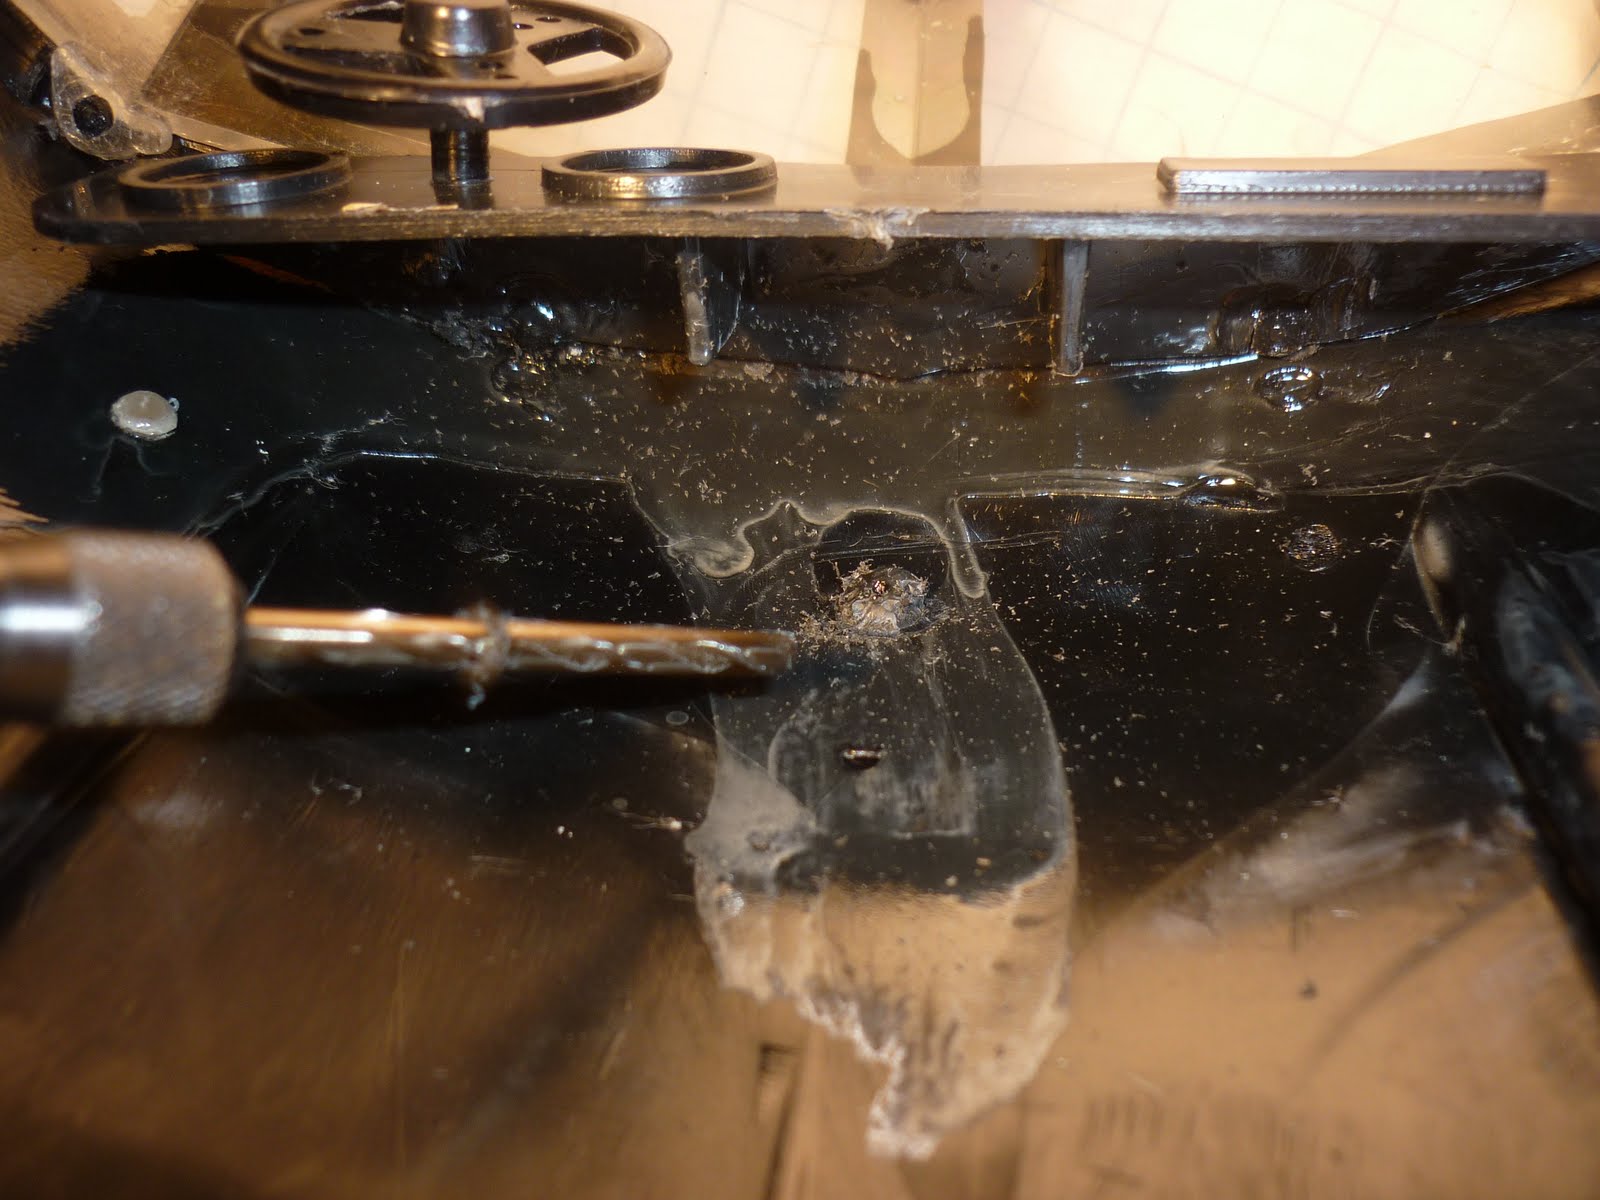
I used my Dremel tool to cut away the posts inside the van holding the Batman shield to the front. I would later have to use this to also cut away the posts and tabs holding the windows in. Mego did a pretty sloppy job putting these together, so you aren't losing much by fling a few tabs away, there's still going to be all kind of flaws on the inside surfaces, but you won't see them, so don't stress.

The bottom section unscrews from teh chassis. I masked off the seats so I could paint them white but still have a black floor. I sprayed white primer over the entire van outside. I masked out the windows as you can see in this shot. This was a mistake--it's hard to fully seal them off and there was a lot of misty spray paint artifacts and leaks I had to later scrub off with paint remover. Just carefully remove the windows. At first I thought I'd leave the inside black, but it looked stupid, so I removing the windows and painting the inside white was the way to go. I masked off the black dashboard and steering wheel.

I sprayed the blue first so I could spray white over any mistakes, but I also masked the white areas so I didn't have to do too much clean up later with white. Use nice medium-tack masking tape.

I was pretty proud of this job. The beater van I bought was missing the back door. I cut out the shape in PVC board and used a heat gun to give it the slight bend it needed. Then I sanded down a strip of balsa wood to match the shape of the profile strip that goes around the sides of the van. Looks great for display purposes.

I sent an .eps file of the Dharma logo to a laser cutting service and they cut me a nice gray plastic logo to put on the front of the bus.


I'd been wanting to add sound components to my custom toys for awhile, and this was the perfect opportunity. How can this van NOT play Shambala by Three Dog Night? And further, how can that Dharma logo NOT be the button you push to make the song play. A little research led me to bigDawgs promotions and their usb recordable greeting card modules. I picked up the 200 second model and eagerly awaited it's arrival. I downloaded their software (pc only--I hate that, but we have an old Dell laptop. It took some updating of software to make it work) and added the song to the chip. It works pretty great, but I did have to remove the batteries twice in order to reboot it, but it seems to be working fine now. Still, for $8 it's a hell of a product. I put it on the floor under the seat, which is the perfect place for the sound to reverberate through the floor and inside the van. Then I snaked the button through the Batman shield hole and glued it in place, then glued the logo around it. I eventually covered the button with the flat end of a rubber gasket I used in my Batman playsets that miraculously fit like a glove.

I final touch is a handmade dashboard radio with an 8-track of Three Dog Night's Cyan album. In the show the 8-track was mounted under the dash, but I liked this look better. The AM radio tunes to 4, 8, 15 and 16, of course. I used photos of vintage dials for the dash stickers.
Now, get down to the Swan site ASAP! And watch out for hostiles!

That's it, thanks for looking! Namaste!
No comments:
Post a Comment